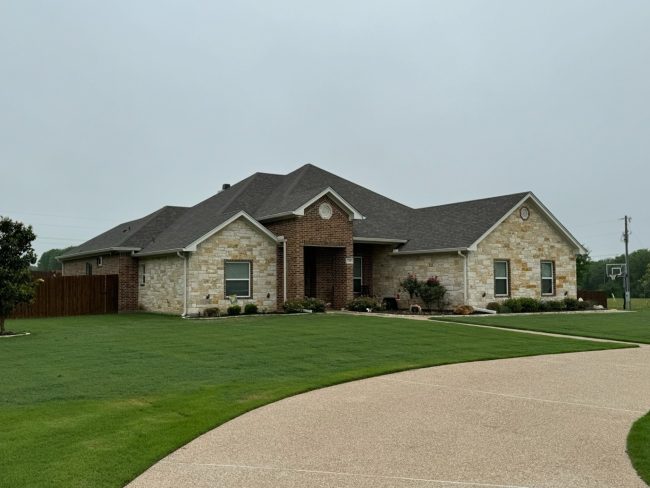
How Professional Installation of Roof Flashing Keeps Your Home Leak-Free
Roof flashing plays a key role in keeping water out of your home by sealing vulnerable areas of your roofing system. But did you know that it’s also one of the most common sources of leaks and water damage when installed incorrectly or allowed to wear down?
That’s why it helps to understand how the installation of roof flashing works to protect your home, and how to recognize early signs of flashing-related problems before they lead to bigger issues.
What is roof flashing?
So, exactly what is roof flashing? In simple terms, flashing seals vulnerable spots where water could enter your home. These areas include roof joints and penetrations like chimneys or vents, as well as intersections where two roof planes meet. Roofers in Waco, TX, can also install flashing where your roof connects to exterior walls to create a watertight seal.
Flashing protects these points by creating a barrier while guiding water safely down and away from your roof. Contractors typically install flashing during roof installation, but you can also bring in a roofing professional later to add new flashing or improve existing sections.
Today, you can find flashing that uses metal materials, such as:
- Galvanized steel
- Zinc
- Copper
- Aluminum
- Stainless steel
Roofers either pre-form these pieces to standard sizes or custom-cut them to match your roof’s layout.
For shingle flashings specifically, many contractors rely on pre-made options. At Clark Roofing, most of our flashings are fabricated in-house at our own metal shop. While we do source some standard, pre-made flashings when appropriate, custom flashings are made in-house to ensure the best possible fit and long-term performance for your roof.
When you choose to hire professionals, you can relax knowing that the installation of roof flashing for your home will be done properly.
Types of roof flashing
You can select from different types of flashing to protect the most vulnerable areas of your roof. Each type of flashing for the roof plays a specific role in directing water away from your home and preventing leaks.
Base flashing
Base flashing helps seal the area where a flat roof surface meets something vertical, like a chimney or skylight. Roofers usually install it using metal like steel or aluminum, along with a waterproof layer underneath. This keeps water out and protects the roof from moisture-related damage over time.
Counter-flashing
Usually used with step flashing, counter-flashing fits into your home’s chimney or masonry and covers the top edge of the base flashing to create an added waterproof layer. This way, you don’t have to worry about rain slipping behind the flashing system.
Step flashing
This is used where the roof meets something vertical, like a wall or chimney. The roofer installs it piece by piece in a staggered pattern that follows the roof shingles. This helps channel water safely down the roof so it doesn’t pool near the wall.
Continuous flashing
Also called apron flashing, this is a long strip of metal used to direct water down toward the shingles. Roofers install it along areas like the bottom of walls or dormers to help guide rainwater away and prevent it from getting under the roofing.
How roof flashing is installed
Precision is key when it comes to the installation of roof flashing, which is why it’s always prudent to leave the task to professionals who specialize in residential roofing services. Here’s how they work:
Prepare the area
Roof inspections are an important step when preparing your roofing for flashing installation. At this stage, roofers clear any debris and remove damaged materials. Plus, they replace any compromised sections so they can work with a solid, reliable surface.
Measure and cut flashing
Roofers carefully take measurements of the joints and edges, so they can cut the flashing to the right size. This ensures that the flashing sits flush and covers every vulnerable gap in your roof.
Fit flashing
Roofers position the flashing where water is most likely to enter, such as around your chimneys and vents. They align pieces to direct water down the roofline, while ensuring that overlaps face the right direction to keep water runoff away.
Secure flashing
After fitting, they fasten the flashing using the correct nails or clips for your roofing system. They place fasteners carefully to avoid creating new entry points for water and to prevent movement during high winds or temperature changes.
Seal and waterproof
Finally, roofers apply compatible sealants where needed and integrate the flashing with your roof’s underlayment and shingles. They seal joints and termination points so water can’t wick behind the metal. When done correctly, this step locks the entire system together and helps keep your roof leak-free.
Common flashing problems and when to call a specialist
Your roof flashing may be properly installed now, but weather exposure and age can take a toll over time, so keep an eye out for these common problems:
- Rust and corrosion, or even cracking
- Loose or shifted flashing
- Water stains on your ceiling
- Mold growth
- Damp patches on your interior walls
How Clark Roofing helps
If you notice any of these problems, it’s smart to contact a roofing specialist right away. Prompt repairs help protect your home’s structure and prevent small issues from turning into major leaks.
Texas heat and sudden storms put constant pressure on your roof, making correct flashing installation critical. Clark Roofing understands these local challenges, so we carefully install flashing in a way that seals everything to keep water away from your home.
Book a professional roof inspection today so we can check the quality of your flashing and install the right material that will keep your home safe for years.
FAQs
Is it possible to install flashing on top of shingles?
It depends on your flashing type. With step flashing, each piece tucks under a shingle while overlapping the one below, so the system works both above and below the shingles. In most situations, flashing sits beneath shingles and behind siding.
Can you secure flashing with screws?
Roofers typically use nails or roofing cement instead of screws. Plus, we match the nail material to the flashing, such as aluminum nails with aluminum flashing.
How long does roof flashing last?
Lifespan varies based on the material and the conditions the flashing is exposed to:
- Aluminum – about 15 to 20 years
- Galvanized steel – around 20 to 30 years
- Copper – often 50+ years
That said, poor installation and skipped maintenance can shorten this timeline.